
Add a vignette
A vignette changes the brightness of the corners and edges. It belongs to the whole photo, not to a layer, and it frames your crop.
Add or remove a vignette
Section titled “Add or remove a vignette”Open Vignette in the left column and drag Amount. It is 0 when you start, so nothing changes until you move it.
| Control | Range | Default | What it does |
|---|---|---|---|
| Amount | -100 to +100 | 0 | Above 0 darkens the edges; below 0 lightens them |
| Midpoint | 0 to 100 | 50 | How far toward the center the effect reaches; 100 covers the whole frame |
| Feather | 0 to 100 | 50 | How soft the transition is; 0 is hard, 100 is very soft |
| Center Brightness | -100 to +100 | 0 | Brightens or darkens the middle, mostly in the midtones |
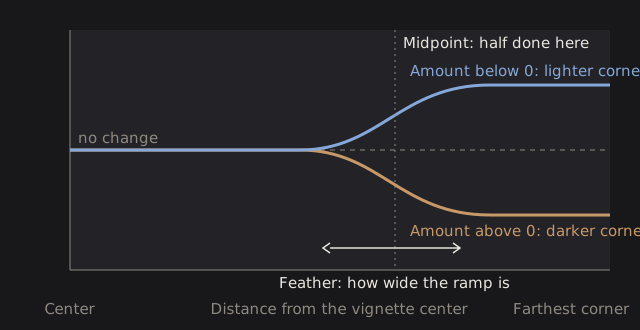

A lightening vignette (Amount below 0) raises the exposure of the edges, by up to two stops in the farthest corners at -100.
Center Brightness leaves pure black and pure white alone. It shifts the midtones inside the vignette.
Move the center
Section titled “Move the center”- Click Adjust Center Point.
- Drag on the photo to place the center of the vignette.
- Click the button again to finish.
Starting a crop turns the center tool off.
Undo it
Section titled “Undo it”The Reset button in the section header sets the controls back, and the power button bypasses the vignette without losing your settings.
Technical details: how the vignette is applied
The vignette works in linear light, after the crop, on the finished composite. Its center is a position in the cropped frame, so 50% / 50% is always the middle of what you see. The distance is measured from the center out to the farthest corner, so the same Midpoint reaches the same fraction of the way on any frame shape.
A darkening vignette multiplies the light by one minus the amount. A lightening one multiplies it by a power of two, which is a regional exposure change. That is why it behaves like extra light and not like a gray fog.